In today’s digital age, Google Docs has emerged as a go-to platform for document creation, collaboration, and editing. Whether you’re drafting a report, essay, or any other written content, ensuring it’s free from errors is paramount. Proofreading might seem like a daunting task, but with Google Docs’ robust features, you’re not alone in this endeavor. In the guide below, we’ll walk you through a step-by-step process to how to proofread on Google Docs, ensuring your work always reflects the highest level of professionalism.
Proofreading is essential for producing polished and professional documents. Fortunately, Google Docs offers various tools to assist in the proofreading process. Here’s a comprehensive guide:
Accessing Google Docs
- Open your preferred web browser.
- Navigate to Google Docs.
- Sign in with your Google account or create one if you don’t have it.
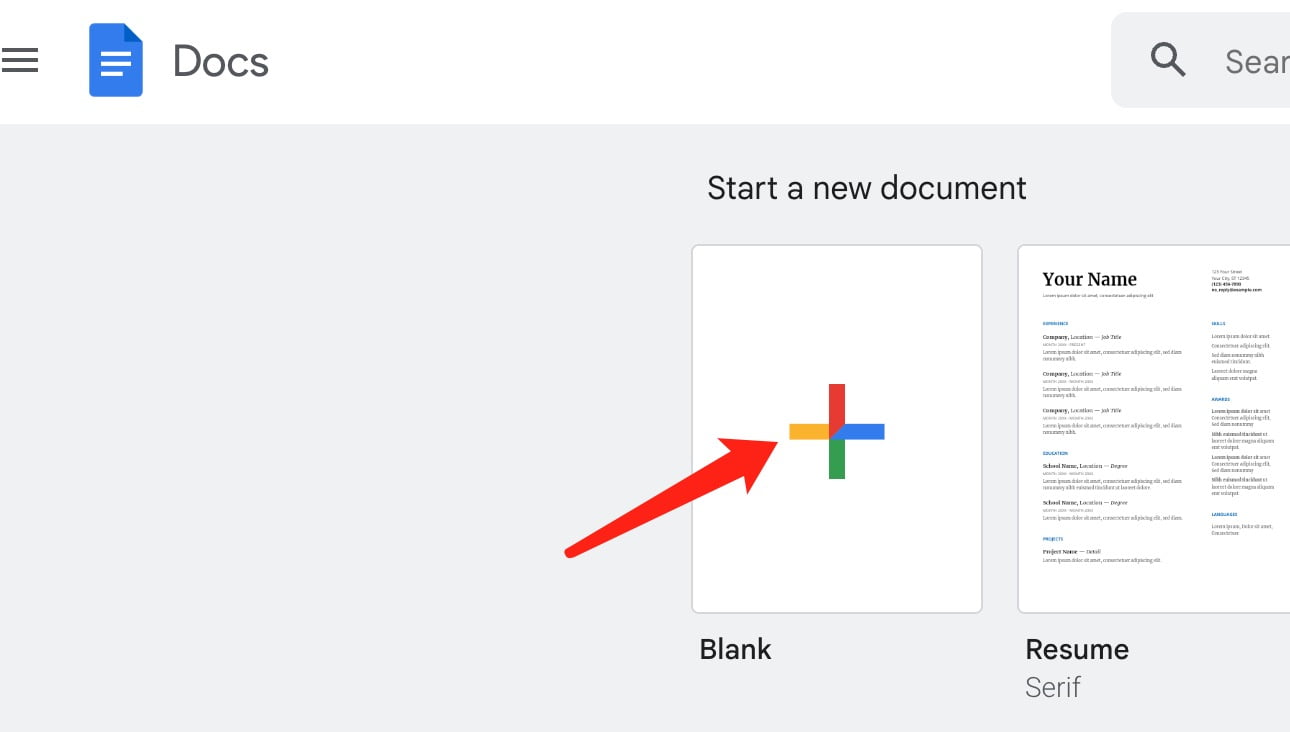
- Open an existing document or create a new one.
Using Built-in Spelling and Grammar Check
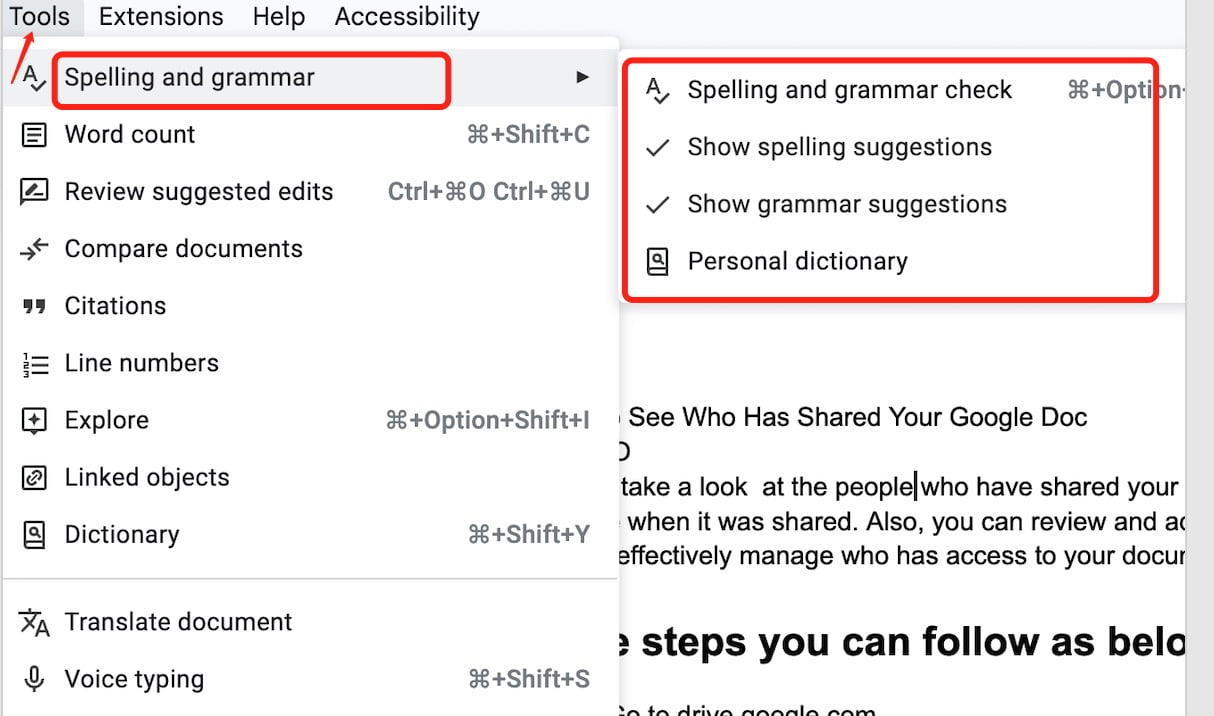
- While in your document, go to Tools in the upper menu.
- Click on Spelling and grammar.
- Select Spelling and grammar check. Google Docs will then highlight errors in your document.
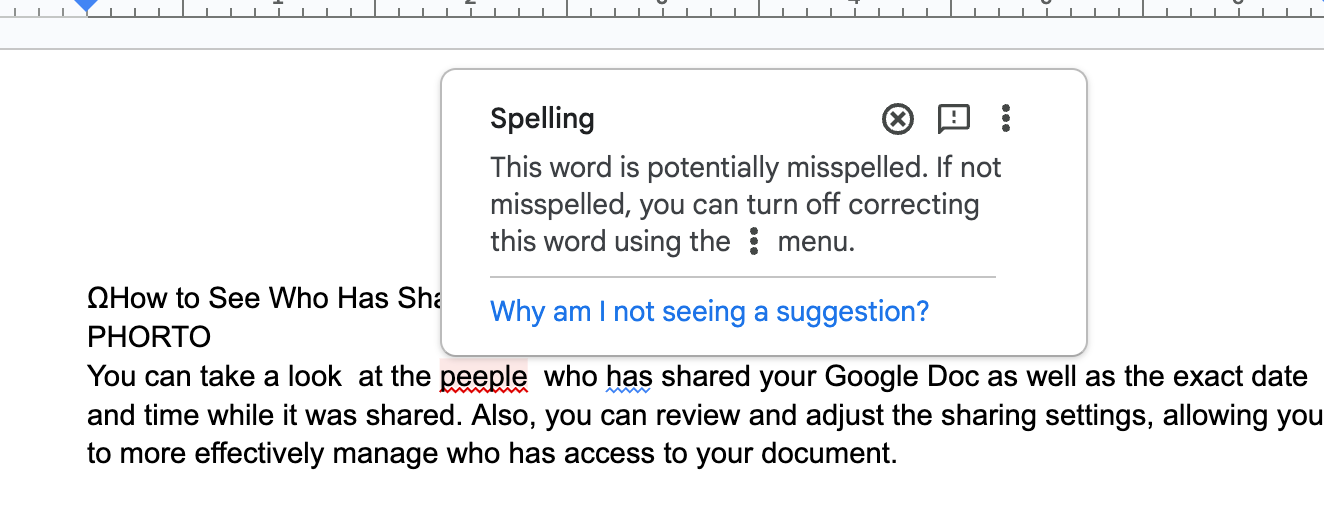
- Click on each highlighted error for suggested corrections. Choose the suggestion or ignore it based on your preference.
Personal Dictionary
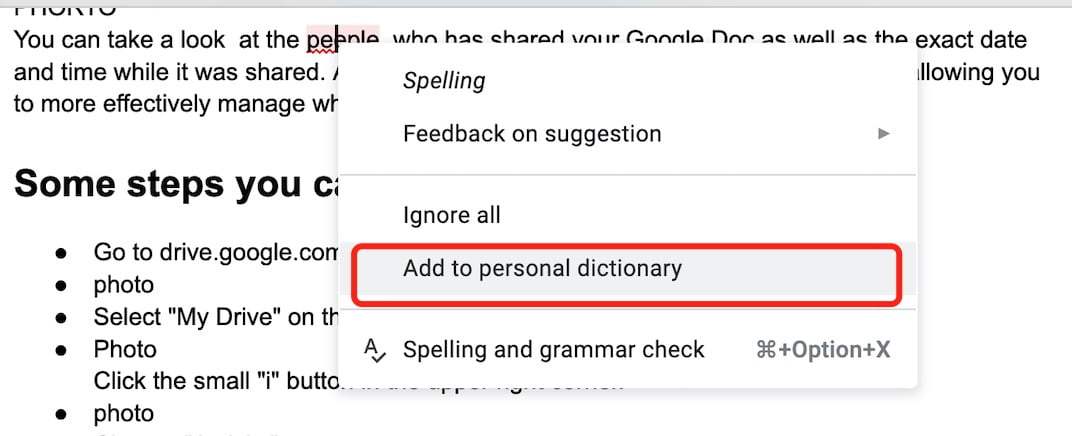
- If there’s a word that Google Docs flags as misspelled but you want to keep it (e.g., brand names, technical terms), you can add it to your personal dictionary.
- Right-click on the word and choose Add to Dictionary.
Voice Typing and Reviewing
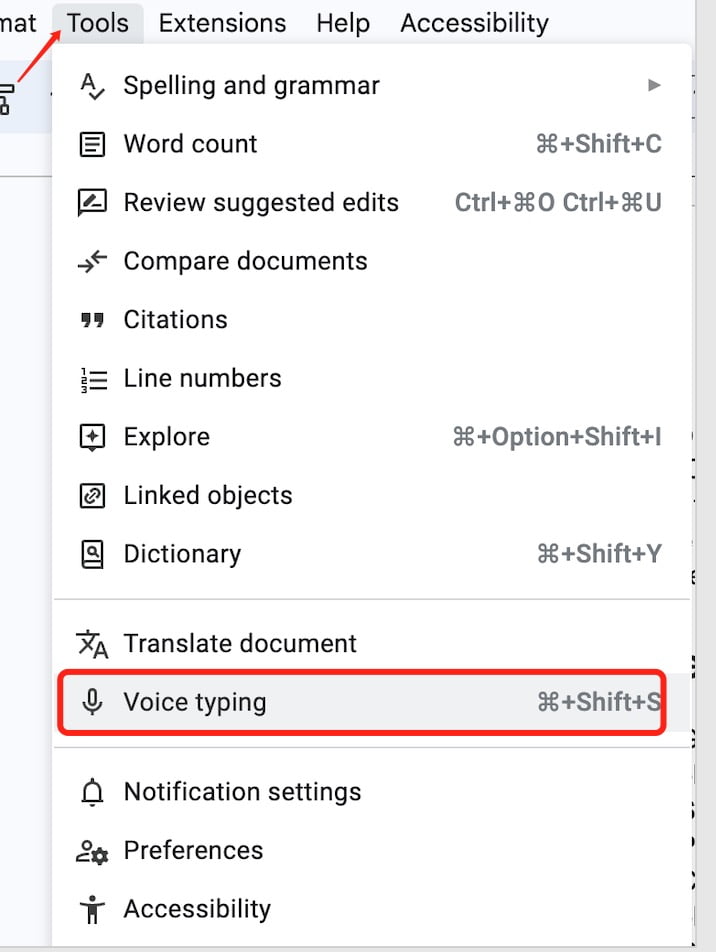
- Under the Tools menu, there’s an option for Voice typing.
- This feature allows you to dictate your document. It can help catch errors as you can read your document aloud and have Google type it out. This makes inconsistencies or awkward phrasings more apparent.
Using Add-ons and Extensions for Advanced Proofreading
- Google Docs supports various add-ons, some of which are designed for advanced grammar checks and style suggestions.
- Go to Add-ons in the top menu, and select Get add-ons.
- In the marketplace, search for proofreading tools such as “Grammarly” or “ProWritingAid.”
- Install your preferred add-on and follow its instructions for use.

Additional Tips
- Use the Suggesting mode in Google Docs (located at the top-right corner where you see the pen icon). It allows you to make suggestions rather than direct edits, which is especially useful when proofreading someone else’s work.
- Regularly save versions of your document (File >Version history >Name current version). This lets you revert back to previous versions if needed.
With these steps, your documents should be well on their way to being error-free and professional in Google Docs.
You should like to read:
As we wrap up this guide, remember that while tools and features can significantly aid the proofreading process, your attention to detail remains invaluable. Embrace the functionalities Google Docs offers, but always trust your instincts and judgment. With practice and the assistance of these steps, your documents will consistently shine in clarity and precision. Keep writing, keep refining, and let every piece of your work be a testament to your dedication to excellence.


